Applying a fiberglass cloth over wall tiles raises a specific technical question: will the adhesive hold on a smooth, non-porous, and sometimes greasy surface? Tiles are not a conventional substrate for this type of covering, and success depends less on the application technique than on the preparation of the substrate. Here’s what technical data and site feedback allow us to measure.
Adhesion on wall tiles: what changes compared to a standard wall
On a plaster or cement wall, the fiberglass cloth adheres thanks to the natural porosity of the substrate. Tiles, on the other hand, have a glazed surface that prevents the adhesive from penetrating the substrate. The entire hold then relies on the mechanical grip created artificially.
The grout presents a second problem. Its thickness creates an irregular relief under the cloth, which eventually shows on the surface after drying. The wider and deeper the joints, the greater the risk of marking.
| Criterion | Standard wall (plaster, cement) | Glazed wall tile |
|---|---|---|
| Porosity of the substrate | Natural, favorable to the adhesive | None, closed surface |
| Required preparation | Undercoat or bonding primer | Sanding + special primer for smooth surfaces |
| Risk of joint marking | None | High without prior leveling compound |
| Drying time before application | Standard (a few hours) | Extended by the leveling compound layer |
| Recommended type of adhesive | Standard fiberglass adhesive | Reinforced adhesive or special adhesive for non-porous substrates |
This table summarizes the difference in constraints between the two substrates. For those looking to understand how to apply fiberglass cloth over tiles, the preparation phase represents the majority of the work.
Preparation of wall tiles before applying fiberglass cloth
The preparation determines the entire outcome. Skipping a step exposes you to delamination in the weeks that follow.
Sanding and cleaning the glazed surface
Sanding the tiles with medium-grit abrasive creates micro-scratches on the glaze. These scratches provide mechanical grip for the adhesive. The sanding should not be superficial: the surface must lose its shiny appearance over the entire area to be covered.
After sanding, careful cleaning removes residual dust and grease stains. In kitchens or bathrooms, greasy deposits accumulate in the joints and on the tiles. A degreasing detergent, followed by rinsing with clear water, is sufficient. The surface must be matte, clean, and perfectly dry before any application.
Leveling the joints for a flat substrate
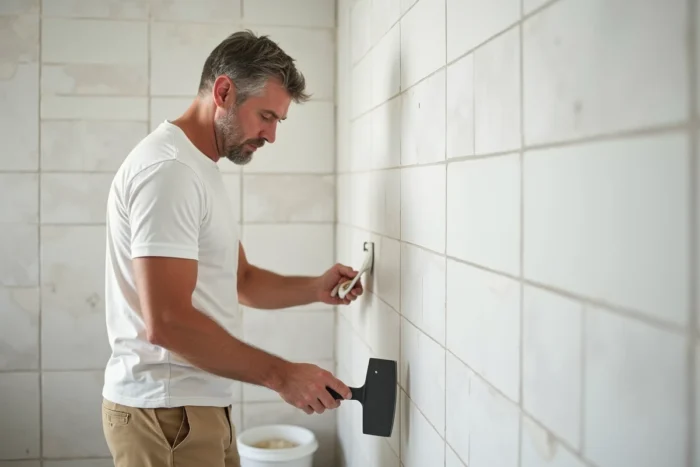
The hollow joints between the tiles create irregularities that the fiberglass cloth cannot mask alone. A leveling compound applied with a spatula can fill these hollows and achieve a flat surface.
- Apply the compound in crossed passes, focusing on the deepest joints
- Allow to dry completely, then lightly sand to smooth any excess thickness
- Check the flatness with a mason’s rule or a level: a deviation of more than a few millimeters will be visible under the cloth
Without leveling, the joints will appear under the cloth within a few days, especially after applying the finishing paint.
Bonding primer on non-porous surfaces
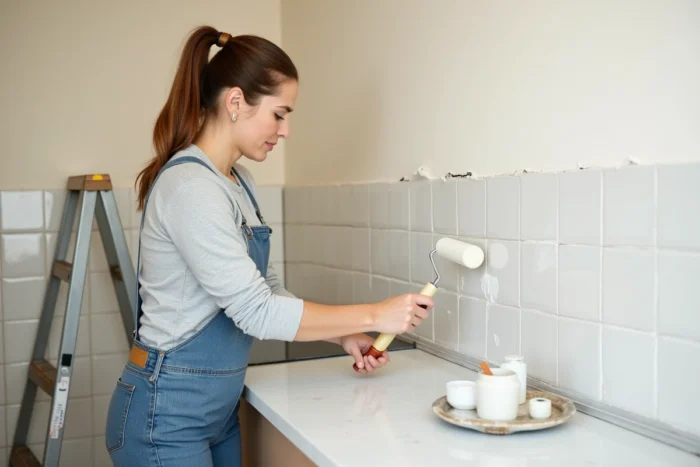
A bonding primer formulated for smooth surfaces (often labeled “special for tiles” or “multi-support”) creates an adhesive film between the sanded tiles and the adhesive. This primer is applied with a roller in a thin, even layer.
The drying time of the primer varies depending on the product and the humidity of the room. In a humid room, allow a longer time than indicated on the packaging.
Choosing the adhesive and fiberglass cloth for tiles
Not all adhesives for fiberglass cloth are suitable for tiles. Standard adhesives, designed for porous substrates, do not perform the same on sanded glaze.
The “special non-porous substrate” or “reinforced” adhesives contain resins that improve adhesion on closed surfaces. They are more expensive, but an unsuitable adhesive jeopardizes the entire installation.
For the cloth itself, a sufficiently dense weight offers two advantages: better mechanical resistance and more effective masking of residual irregularities. Patterned cloths (herringbone, mesh) hide small defects better than a smooth cloth.
- Reinforced adhesive or special for smooth surfaces, applied directly to the wall (never on the cloth)
- High-weight fiberglass cloth for better coverage of leveled joints
- Spatula or smoothing roller to eliminate air bubbles, starting from the center towards the edges
- New cutter for clean cuts at corners and outlets
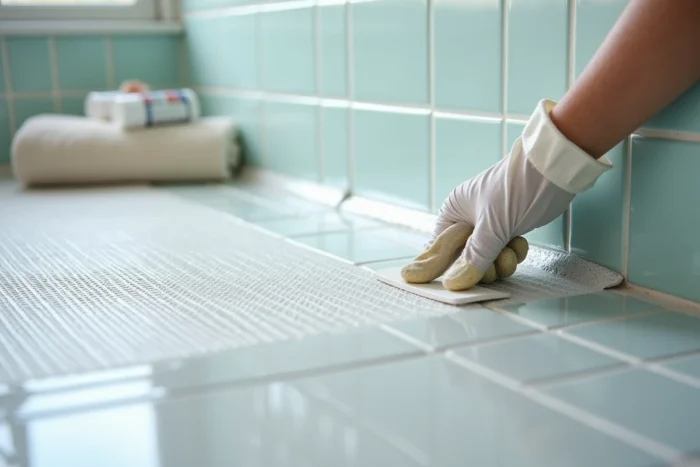
Diagnosis and traceability of work in old housing
A rarely addressed point in tutorials concerns the traceability of covering work. In old housing, wall tiles may conceal materials containing lead (old paints under the tiles) or asbestos (period installation adhesives).
Applying fiberglass cloth over these tiles constitutes a “neutralization” of the risk in terms of technical diagnostics. However, this intervention must be documented. Without traceability, the property may be found non-compliant with the technical diagnostics file required during a sale.
Covering old tiles does not erase the obligation for diagnostics. If the housing dates from before the 1990s, a prior lead or asbestos diagnosis allows for knowledge of what lies beneath the tiles before covering everything.
Finishing and painting on fiberglass cloth applied over tiles
Once the cloth is smoothed and the adhesive is dry, the finishing paint is applied just like on any wall covered with fiberglass cloth. A white undercoat prepares the substrate and evens out absorption.
In humid rooms (bathroom, kitchen), a satin acrylic paint or a special paint for humid rooms protects the cloth against moisture. Fiberglass cloth, by nature, is resistant to moisture, but the paint must meet the same level of requirements as the rest of the preparation.
The final result depends almost entirely on the previous steps. Poorly sanded tiles, unlevelled joints, or standard adhesive on a smooth surface will produce delamination or visible marking in the first few weeks. The application itself, in vertical strips smoothed with a spatula, remains the same as a standard application. It is the substrate that makes all the difference.