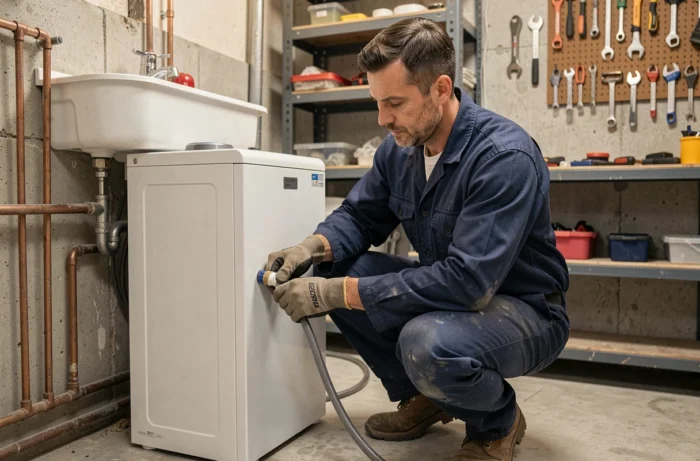
A water softener works by ion exchange: a resin captures calcium and magnesium dissolved in water and replaces them with sodium. The result is so-called softened water, which is less loaded with limestone, reducing scaling in pipes and hot water production appliances. Installing this device at home requires adhering to certain technical constraints, as well as checking what happens once the installation is complete.
Residual hardness and valve adjustment: the often-overlooked parameter
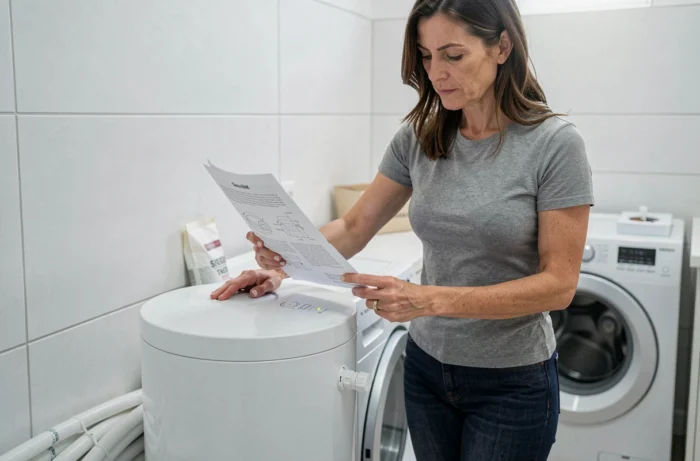
Most guides detail the connection pipe by pipe but quickly gloss over the adjustment that conditions the entire operation: the target residual hardness. This parameter, expressed in French degrees (°f), determines the amount of limestone that the softener intentionally leaves in the water after treatment.
Setting the residual hardness too low produces very soft water, which can be aggressive to certain metal pipes and depleted in minerals. Setting it too high means underutilizing the device. The valve of the softener (mechanical or electronic, depending on the model) allows for adjusting this threshold by programming the frequency of resin regenerations with salt.
To define the correct value, one must know the hardness of the water entering the home. This information is found on the water bill or on the town hall’s website. The goal is to obtain, at the outlet, sufficiently softened water to limit limestone without dropping below a threshold that would make the water corrosive.
Before installing a water softener, noting the initial hardness and deciding on the desired residual hardness prevents having to reprogram everything afterward.
Connection and bypass: the technical points of installation
The softener is placed on the main water supply, downstream of the meter and pressure reducer, to treat the entire domestic network. The location must remain accessible, protected from frost, and situated near a drainage point (for regeneration water loaded with salt).
The bypass, a piece not to forget
The bypass (or diversion valve) allows isolating the softener without cutting off the water supply to the home. It is used during maintenance, in case of a breakdown, or if one temporarily wants to use untreated water. Installing a bypass directly during the connection avoids a later, more cumbersome intervention.
Connection order
- Shut off the main water supply and drain the circuit by opening a tap located at the lowest point of the network.
- Attach the bypass to the head of the softener valve, then connect the cold water inlet (meter side) and the softened water outlet (domestic network side) while respecting the flow direction indicated on the device.
- Connect the brine drain hose to the nearest drain, ensuring there is no reverse siphoning (the hose should not dip into stagnant water).
- Gradually restore water pressure, with the bypass open, to purge air from the circuit before switching the flow to the softener.
A sediment filter upstream of the softener prolongs the life of the resin by retaining solid particles (sand, rust) that could clog it.
Water quality control after commissioning
Once the device is operational, the work does not stop at the last connection. Checking the water quality at various draw-off points is a step that most installation tutorials do not cover.
Testing the hardness at the softener outlet
Test strips or a TH (hydro-titrimetric) test kit can measure the hardness of the water at the tap closest to the softener, and then at a more distant tap. Both measurements should be consistent: a significant discrepancy may indicate a leak on the bypass or an inverted connection.
This check is best repeated after the first complete regeneration of the resin (the first cycle consumes salt to charge the new resin, and the result is not always representative of normal operation).
Softened water and drinking tap
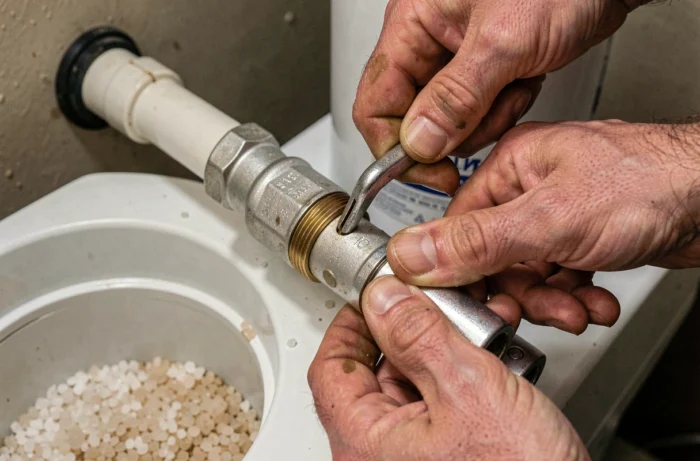
Softened water contains more sodium than raw water, as the ion exchange replaces calcium and magnesium with sodium. For individuals on a low-sodium diet, or for feeding infants, it is common to keep a non-softened cold water tap (usually the kitchen sink tap) connected in bypass before the softener.
This untreated water point can also be used for outdoor watering: softened water, slightly salty, is not ideal for plants sensitive to sodium.
Regular maintenance of the softener: salt, resin, and pressure
The maintenance of a resin softener relies on three recurring operations:
- Check the salt level in the brine tank and refill it before it drops below one-third of the tank. A lack of salt prevents regeneration and allows limestone to pass through.
- Clean the resin according to the manufacturer’s recommendations (some models include an automatic cycle, others require a specific cleaner poured into the tank).
- Check the water pressure upstream and downstream of the device. A drop in pressure downstream may indicate clogging of the sediment filter or a problem with the valve.
Regular maintenance of the salt tank ensures effective regenerations and prevents the formation of a compact salt block (called a “salt bridge”) that hinders dissolution.
A well-installed and properly adjusted water softener visibly reduces limescale deposits on faucets and in the hot water tank. The only reliable indicator remains the regular measurement of the outlet hardness: as long as it corresponds to the programmed target, the device fulfills its role.